How to set up a mesh WiFi network : step-by-step guide

Contents
Setting up a mesh WiFi network has become very simple thanks to the guided mobile apps of modern manufacturers (eero, Google Nest WiFi, TP-Link Deco, ASUS ZenWiFi). But a few rules help you get the best result : choice of model, placement planning, securing.
This guide explains step by step how to install and optimize your mesh network, with best practices for placement and securing.
How does mesh WiFi work ?
A mesh system is made up of :
- 1 main router connected to your box or ONT
- 1 to 4 satellites spread around the home
- An automatic communication between all nodes
All nodes share the same SSID and password. Your devices switch automatically to the nearest node, with no manual action. If a node fails, packets are rerouted via another path.
Mesh is more than a simple WiFi extension : it is a smart and resilient network that self-organizes.
Criteria for choosing your mesh system
1. Speed (throughput)
For 2026+, aim for :
- Minimum WiFi 5 (802.11ac) : 866 Mbps usable, enough for standard use
- Recommended WiFi 6 / 6E (802.11ax) : 1-3 Gbps, ideal for connected homes
- Ideal WiFi 7 (802.11be) : 5-10 Gbps, future-proof 5+ years
Prefer tri-band models (2.4 + 5 + 5 GHz or 6 GHz) with a dedicated backhaul band between nodes.
2. Coverage
General rule :
- < 150 m² : 2 nodes (router + 1 satellite)
- 150-300 m² : 3 nodes
- > 300 m² or 3+ floors : 4-5 nodes
Take obstacles into account : load-bearing walls in stone/concrete reduce range by 30-50%.
3. Ease of configuration
A guided mobile app is a must : avoid models offering only a web interface (rare in 2026 but still found in entry-level products).
4. Security
Check support for :
- WPA3 (the most recent encryption)
- Automatic updates of the firmware
- Separate guest network
- Parental controls and content filtering
Preparation before installation
- Inventory the dead zones : walk through the home with your phone, note where the current router's signal is weak
- Count the connected devices : smartphones, computers, TVs, IoT objects, cameras
- Measure the area : estimate the number of satellites needed
- Identify the power outlets available at strategic points
- Check the Ethernet locations if you want a wired backhaul (preferable)
Pro tip : Ethernet backhaul
If you have Ethernet cable (Cat 6) between the rooms, connect the mesh satellites via Ethernet. This frees up 100% of the WiFi band for the clients and drastically improves performance. "Wired backhaul" mode is supported by eero, Google Nest, ASUS ZenWiFi, TP-Link Deco.
Step-by-step installation
Step 1 : Main router
- Connect the main router to your box/ONT via Ethernet
- Plug in the power supply
- Wait 2-3 minutes for the LEDs to indicate "ready" (often solid white)
Step 2 : Mobile app
- Download the manufacturer's mobile app (eero, Google Home, TP-Link Deco, ASUS Router…)
- Create an account or log in
- Scan the QR code of the main router
- Follow the guided setup : SSID, password, security (WPA3 if available)
Step 3 : Satellites
- Plug in each satellite halfway between the router and the dead zones
- The app automatically detects the new node
- Confirm the addition, wait 1-2 min for synchronization
- Repeat for each satellite
Step 4 : Tests
- Check the coverage in every room with your phone
- The app often shows the signal strength between nodes
- Reposition the satellites if needed to optimize
Optimal placement of satellites
| Rule | Why |
|---|---|
| Central position in the house | Maximizes omnidirectional coverage |
| Halfway between router and dead zone | Ensures a good backhaul signal |
| Height 1.5-2 m from the floor | Avoids low furniture obstacles |
| Avoid the kitchen (microwave) and bathroom | Interference and humidity |
| Minimal distance from load-bearing walls | Concrete/stone absorbs 30-50% of the signal |
| Away from other 2.4 GHz devices | Bluetooth, baby monitor, microwave |
| In a frequently occupied room | Maximizes the node's usefulness |
Securing your mesh network
- Change the admin password of the system (never "admin/admin" or your street name)
- Enable automatic updates of the firmware
- Rename the SSID with a non-identifiable name (not your address, not your name)
- Enable WPA3 if all your devices are compatible
- Create a separate guest network for visitors (isolation of private data)
- Disable WPS (major security flaw)
- Regularly check the connected devices via the app
- Enable filtering by MAC address for critical devices
Testing and optimization
- Throughput test : use Speedtest in each room. Compare against 80-90% of your subscription's throughput
- Latency test : ping 8.8.8.8 or your preferred server, aim for < 30 ms
- Stability test : long download (2 GB) without interruption
- Roaming test : video call while walking between rooms
- Multi-client test : 5+ simultaneous devices in HD/4K
If performance is not satisfactory :
- Reposition the satellites
- Add an extra node
- Switch to Ethernet backhaul
- Check the QoS settings
- Update the firmware
Elfcam solutions for a high-performance wired network
- Ethernet Cat 6/7/8 cables for optimal wired backhaul
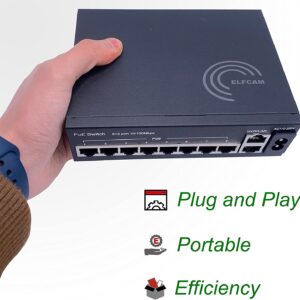
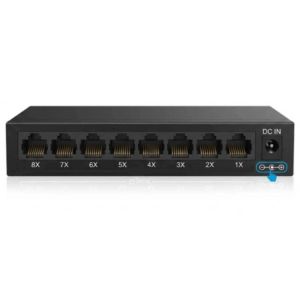
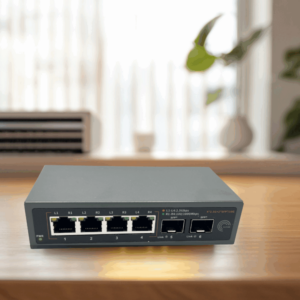
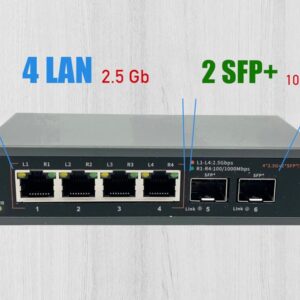
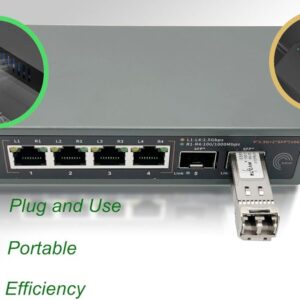
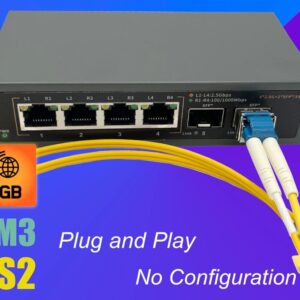
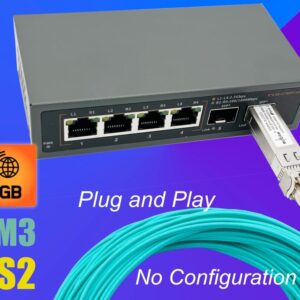
- PoE switches to power complementary pro WiFi APs
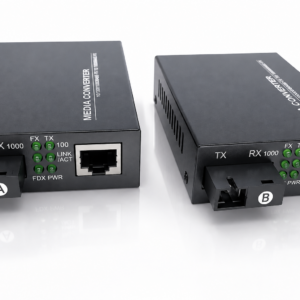
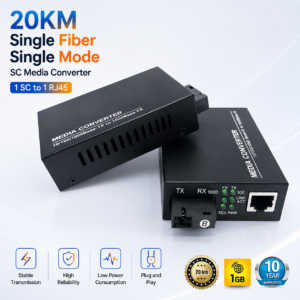
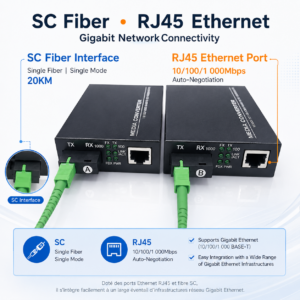
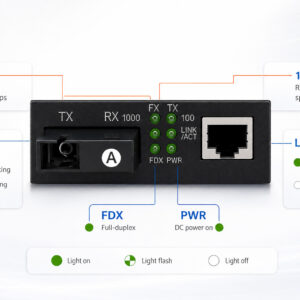
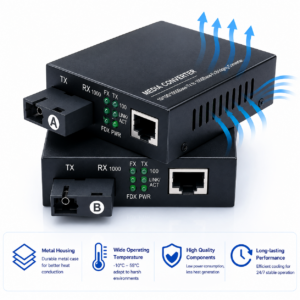
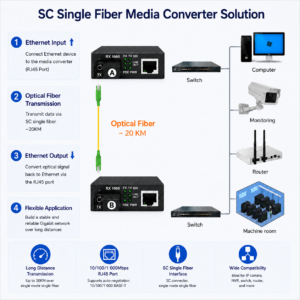
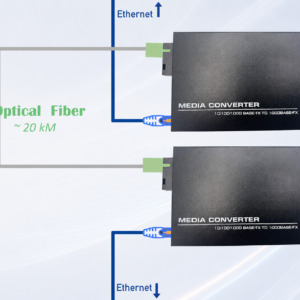
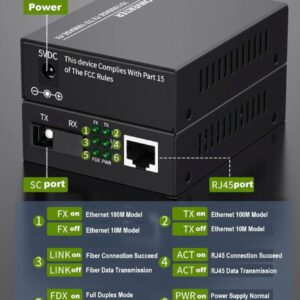
- Fiber/Ethernet converters to extend beyond 100 m


FAQ — mesh WiFi setup
1How long to install a complete mesh ?
2Does mesh replace my operator's box ?
3Can I mix different mesh brands ?
4WiFi or Ethernet backhaul ?
- WiFi band 100% available for the clients
- Stable and low latency
- Maximum throughput between nodes (not limited by WiFi)
5How do I know if my mesh is well configured ?
- Signal > -65 dBm in every room (good)
- Throughput > 80% of your subscription in 90% of zones
- Latency < 30 ms on the Internet
- Switch between nodes in less than 1 second (walk-roaming test)
- No interruptions during 4K streaming
6My mesh slows down after a few months, why ?
- Too many devices connected simultaneously
- New interference (neighbor's new router, microwave)
- Outdated firmware (update it)
- Saturation of the 2.4 GHz band in a building
7Can I add satellites later ?
8Where to buy complementary network equipment ?
In summary
Setting up a mesh WiFi is simple and fast with modern mobile apps : 15-30 minutes for 3 nodes. Optimize with an Ethernet backhaul if possible and secure it properly (WPA3, automatic updates, guest network).
For maximum performance, complete with our Cat 6 cables backhaul and our PoE switches for additional APs.